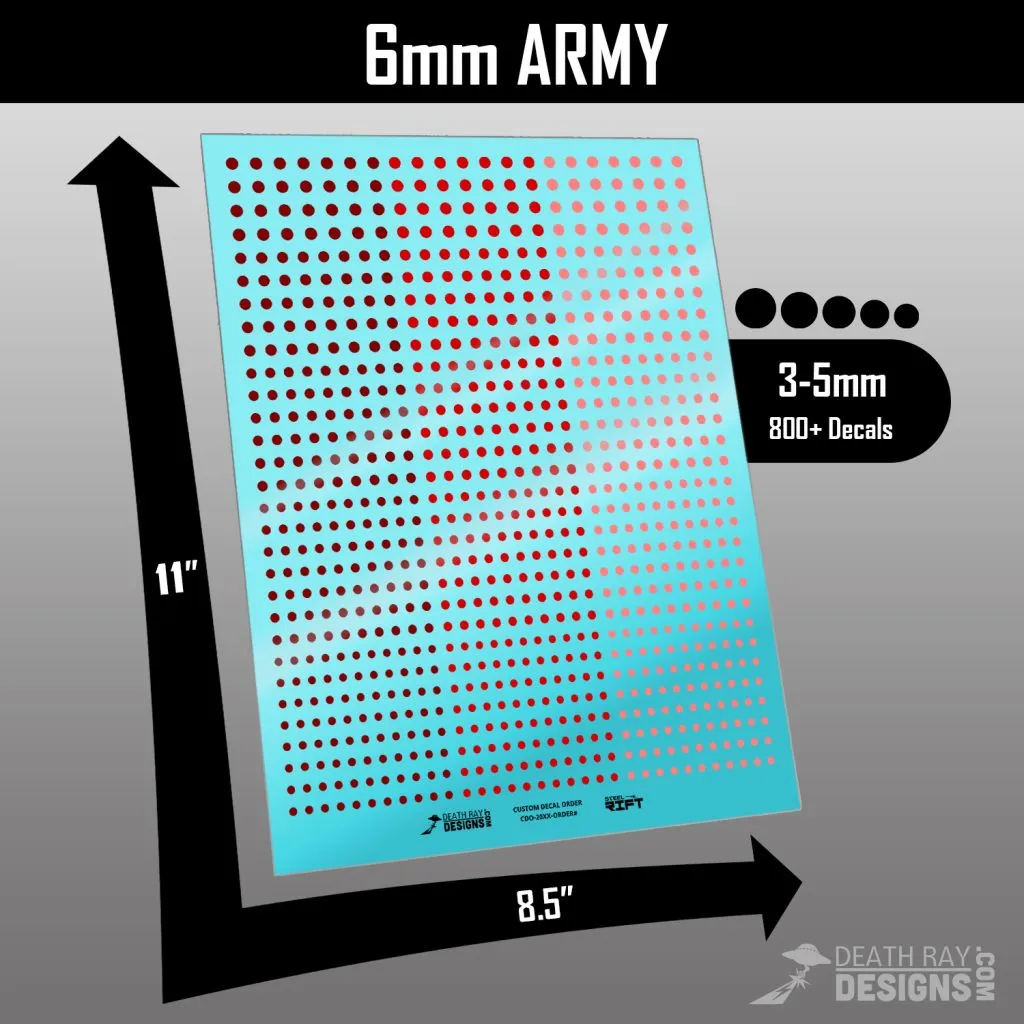
Understanding Diecast Decals
Custom diecast decals are a fantastic way to personalize your model cars, adding realistic details, branding, or unique designs. These decals, essentially miniature stickers, come in various forms and can dramatically transform the look of your models. Understanding the different types of decals and the proper application methods is key to achieving professional-looking results. Whether you’re a seasoned modeler or a beginner, mastering diecast decal application elevates your hobby to a new level. This guide breaks down the process step-by-step, ensuring you achieve flawless finishes every time. The world of diecast customization opens up with the right knowledge.
Types of Diecast Decals
Two primary types of decals dominate the diecast world water slide decals and dry transfer decals. Each type has distinct properties and application methods, affecting the final appearance and durability of the model. Choosing the right type for your project depends on the complexity of your design, the surface of your model, and your personal preference. Both offer excellent customization options, allowing for intricate designs and details that paint alone cannot achieve. Careful consideration of the benefits and drawbacks of each type will help you choose the best option for your custom diecast project, leading to optimal results and satisfaction.
Water Slide Decals

Water slide decals are the most common type, known for their ease of use and ability to conform to curved surfaces. These decals have a thin layer of adhesive applied to a backing sheet. The decal is removed from the backing sheet by soaking it in water. This activates the adhesive, allowing it to be slid onto the model surface. The process requires patience and precision to ensure the decal is correctly positioned and free of air bubbles. Water slide decals are ideal for complex designs and detailed graphics. They are a versatile option for a wide range of diecast modeling projects. Using water slide decals can transform a simple model into a work of art, thanks to their ease of application and flexibility.
Dry Transfer Decals
Dry transfer decals, also known as rub-on decals, provide a more durable and seamless finish. The design is transferred directly from the carrier sheet to the model’s surface by applying pressure. No water is involved, making them ideal for beginners or those looking for a quick application process. Dry transfer decals offer a flatter finish, with a more integrated look, that blends better with the model. They’re particularly useful for lettering, logos, and fine details. These decals can be more challenging to apply in intricate areas or on curved surfaces. Despite the challenges, the results can be stunning, offering a high-quality, professional finish.
Essential Tools and Materials
Before you begin applying your diecast decals, gather the necessary tools and materials. These will ensure a smooth and successful application process. Having the right tools reduces the likelihood of mistakes and helps you achieve a professional result. Proper preparation is the foundation of a beautiful finish. It’s essential to have everything ready before you start to avoid interruptions. This also prevents any potential damage to your decals or model car. A well-equipped workspace is vital for your diecast modeling endeavors, providing the necessary tools for precision and control.
Surface Preparation
Preparing the surface is critical for decal adhesion and longevity. A clean, smooth surface provides the best foundation for your decals. Any imperfections will show through, ruining the final look. Take the time to carefully prepare your model before applying any decals. This step will also ensure the decals adhere properly. This will also prevent air bubbles and peeling. Surface preparation is essential for achieving professional-looking results and is a step that shouldn’t be skipped. Proper surface prep is the secret to flawless decal application.
Cleaning the Diecast Surface
Clean the diecast surface thoroughly to remove any dust, oils, or residue. Use a mild soap and water solution or a specialized modeling surface cleaner. Rinse the model with clean water and let it dry completely. Any contaminants on the surface can prevent the decals from adhering properly. Use a lint-free cloth to wipe down the surface. Avoid harsh chemicals that could damage the paint. Clean surfaces improve decal adhesion and ensure a smooth finish, leading to better results in your diecast modeling project.
Smoothing Imperfections
Inspect the surface for any imperfections, such as scratches or bumps. Lightly sand these areas with fine-grit sandpaper to create a smooth surface. Be careful not to remove too much paint. After sanding, clean the model again to remove any sanding dust. A perfectly smooth surface is crucial for a professional finish. This ensures the decals adhere evenly and prevent unsightly imperfections. Smoothing imperfections is a vital step in preparing your model for decal application, and greatly improves the overall appearance. This meticulous approach will ensure the decals lay flat and look their best.
Applying Water Slide Decals
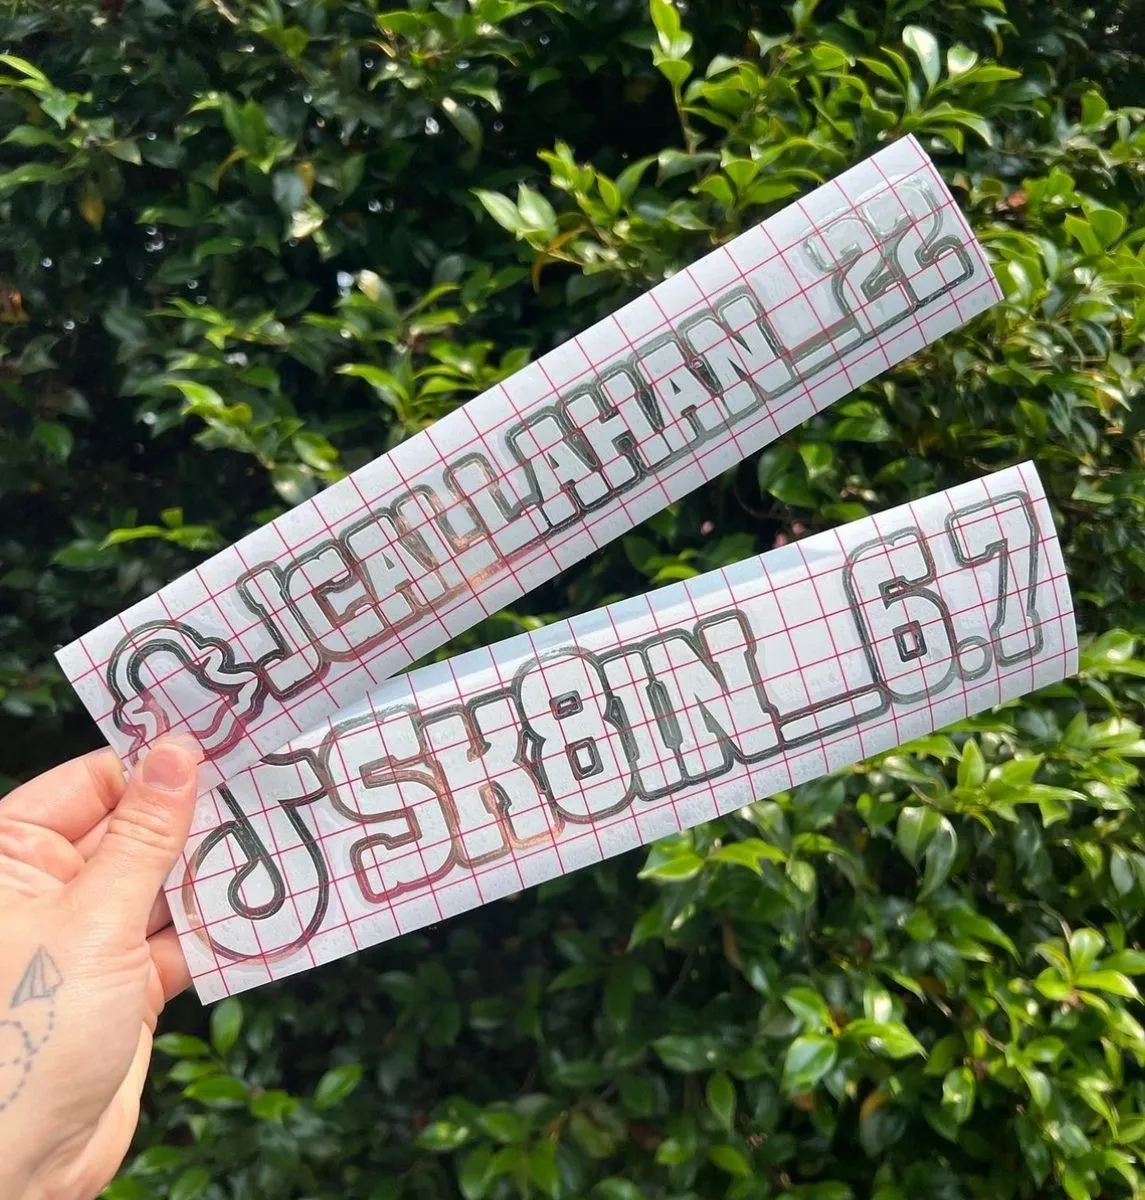
Applying water slide decals requires patience and a steady hand. Follow these steps to ensure a successful application and a professional finish. Take your time, and don’t rush the process. Carefully handling the decals will prevent tearing or damage. Remember, practice makes perfect, so don’t be discouraged if your first attempt isn’t flawless. With practice, you’ll gain the skills necessary to apply decals with ease and precision. Following these steps will guide you through the process, resulting in beautiful, custom diecast models.
Cutting the Decal
Carefully cut the decal from the sheet, as close to the edge of the design as possible. Use a sharp hobby knife or scissors. Trim away any excess carrier film that may interfere with application. This will help prevent a halo effect and ensure a cleaner look. The goal is to minimize the visible clear film around the decal. The more precise your cuts, the better the final result. A neat and precise cut will also make the positioning of the decal easier, leading to a more professional finish.
Soaking the Decal
Place the decal in a dish of lukewarm water for about 10-20 seconds. The decal should begin to separate from the backing sheet. The soaking time can vary depending on the decal manufacturer and the water temperature. Avoid soaking for too long, which can cause the adhesive to become too active. If the decal doesn’t release easily, allow it to soak for a few more seconds. Properly soaking the decal is vital for its successful transfer. This will make it easier to slide the decal into position and avoid tearing.
Positioning the Decal
Carefully slide the decal from the backing sheet onto the model’s surface. Use a soft brush or your fingers to gently position the decal. Ensure it’s in the desired location before it adheres. Water allows you to move the decal around, enabling you to adjust its placement before it sets. Take your time to get it right, as once it dries, it will be difficult to reposition. Precise positioning is a crucial step in the decal application process. Accurate placement will result in a clean and professional-looking finish.
Removing Excess Water and Air Bubbles
Once the decal is in position, use a soft cloth, cotton swab, or decal setting solution to remove excess water and any trapped air bubbles. Start from the center and gently work your way outwards. This will help the decal adhere smoothly to the surface. Air bubbles can ruin the appearance of your decals. Removing them prevents a blotchy or uneven look. Use a pin to gently prick stubborn air bubbles and release the air. This technique will ensure a clean and professional finish for your custom diecast model. Patience is key here.
Sealing the Decal
Once the decal is dry, consider sealing it with a clear coat. This protects the decal from damage and blends it seamlessly with the model’s paint. Apply the clear coat in thin, even layers to avoid runs or drips. Let each layer dry completely before applying the next. Sealing the decals will also enhance their durability and longevity. This crucial step will give your diecast model a professional and polished finish. Choose a clear coat that is compatible with your model paint to avoid adverse reactions.
Applying Dry Transfer Decals
Dry transfer decals offer a more durable and seamless alternative to water slide decals. The process involves transferring the design directly from the carrier sheet to the model’s surface. The advantage is a more realistic appearance, with no visible carrier film. Applying these decals is a straightforward process but requires careful precision. With the right technique, you can achieve a professional look that enhances your custom diecast model. Proper technique leads to superior results in your diecast customization efforts.
Positioning the Decal
Carefully position the dry transfer decal on the model’s surface, where you want it to appear. Make sure it’s aligned correctly. Ensure the decal’s carrier sheet is in direct contact with the surface. Avoid touching the adhesive side of the decal with your fingers. Proper positioning is the first step toward a successful transfer, ensuring the design is in the right place. This initial step sets the stage for a flawless application and an excellent finished product.
Rubbing the Decal
Use a burnishing tool, a cotton swab, or even the blunt end of a hobby knife to rub the decal firmly onto the surface. Apply even pressure across the entire design. The goal is to transfer the decal from the carrier sheet to the model’s surface. Rubbing with consistent pressure is essential for ensuring a complete transfer. Pay extra attention to fine details and edges. Careful and consistent rubbing guarantees that the design adheres correctly, contributing to a professional finish.
Removing the Carrier Sheet
Once you’ve rubbed the decal thoroughly, carefully peel back the carrier sheet. The decal should now be fully transferred to the model. If any parts of the decal remain on the carrier sheet, gently rub those areas again. Peel the sheet at a sharp angle to prevent lifting the decal. The success of the transfer is evident when the design cleanly separates from the sheet. With patience and care, you’ll unveil a perfectly transferred design, ready to enhance your model. A clean separation from the sheet confirms your work has paid off.
Fixing Mistakes
Sometimes mistakes happen, but don’t worry. Dry transfer decals are often forgiving. If you’ve made a mistake, there are ways to rectify it. If you lift a portion of the decal, you can carefully reapply pressure. If the decal is torn, you can try to smooth it out with setting solution. If the mistake is major, you can carefully remove the remaining decal with tape and start over. Don’t let minor setbacks discourage you. With patience and care, you can fix most issues. Addressing errors promptly ensures a satisfying and professional finish for your custom diecast models.
Troubleshooting Common Problems
Even with the best techniques, problems can arise during decal application. Knowing how to address common issues can save your project and improve your modeling skills. Common problems include peeling, air bubbles, and tearing. Understanding how to troubleshoot these issues empowers you to overcome challenges. Addressing these issues will ultimately improve your modeling experience. With practice, you’ll become adept at resolving any decal-related problem, improving your skill.
Decal Peeling or Lifting
If the decal peels or lifts after application, it could be due to several reasons. The surface might not have been clean. The decal may not have adhered correctly. The clear coat may not be compatible. To fix this, try cleaning the surface again. Reapply the decal, ensuring proper adhesion. Use a compatible clear coat. If the peeling is severe, you may need to remove the decal and start over. Decal peeling is a common issue that can be resolved with these simple steps. A careful approach will provide lasting results and enhance your model’s appearance.
Air Bubbles Under Decals
Air bubbles can ruin the smooth look of your decals. They often occur when applying water slide decals. Prevent this by removing air bubbles immediately after positioning the decal. Use a soft cloth or cotton swab to gently push them towards the edges. For stubborn bubbles, carefully prick them with a pin. Then, push the air out. Air bubbles are a common but fixable problem. Addressing them immediately will help ensure a smooth and professional finish for your model.
Decal Tearing
Decal tearing can occur during application. Usually, this is due to rough handling. To avoid tearing, handle the decals carefully. Use sharp tools for cutting. If a tear occurs, try to gently reposition the torn pieces. Use a decal setting solution to help blend the edges. If the tear is severe, you may need to replace the decal. Preventing tearing is all about using the right tools and careful handling. A delicate approach prevents this issue, preserving your model’s appearance.
Maintaining and Protecting Your Decals
Once you’ve applied your decals, taking care of them is important. Protecting your decals will ensure they last for years to come, preserving the value of your model. Proper care will also maintain its visual appeal. These steps help you enjoy your custom diecast model for a long time. With proper care, your models will remain a source of pride and enjoyment for years to come.
