Understanding Diecast Chrome Plating
Diecast chrome plating is a popular method for enhancing the appearance and durability of diecast metal parts, often used in model cars, toys, and automotive components. This process involves applying a thin layer of chromium onto the surface of the diecast object, resulting in a bright, reflective finish that is resistant to corrosion and wear. This guide will walk you through the essential steps, materials, and techniques required to successfully chrome plate your diecast items. Whether you’re a hobbyist looking to restore a classic model or a DIY enthusiast seeking to add a custom touch, understanding the intricacies of chrome plating is key to achieving professional-looking results. Proper preparation and execution are crucial for a durable and visually appealing finish.
What is Diecast Chrome Plating
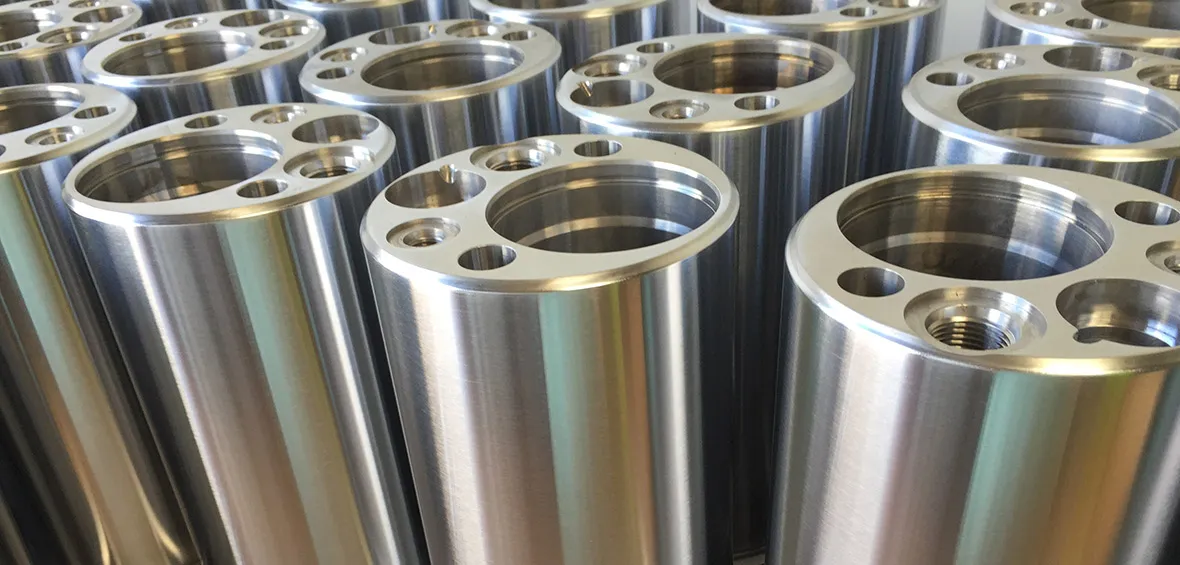
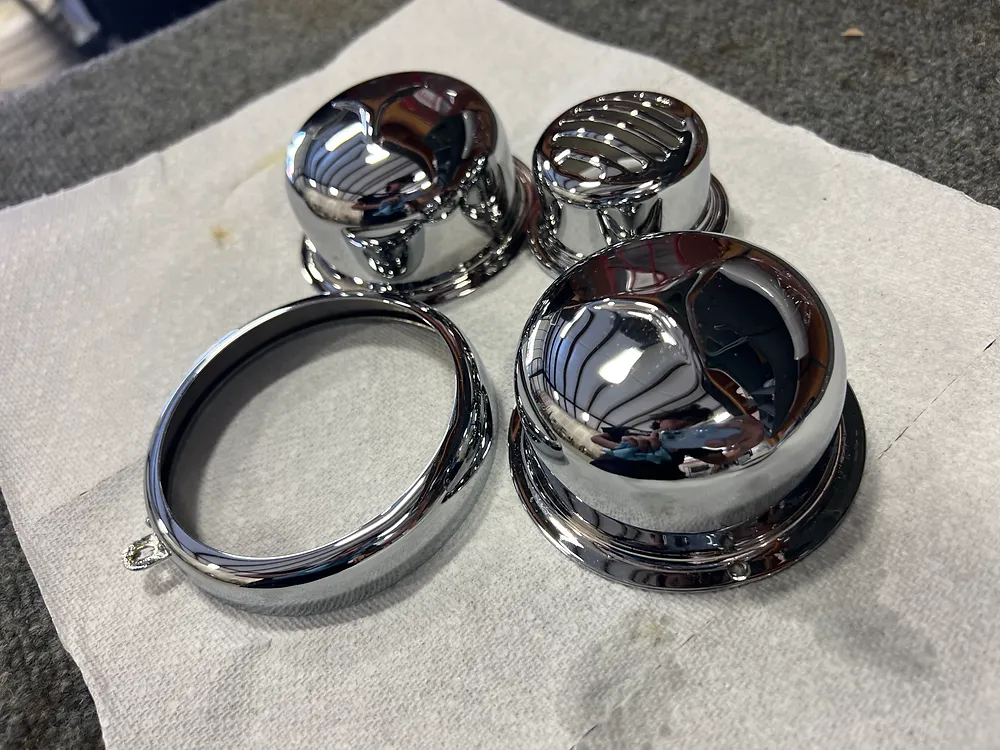
Chrome plating is an electroplating process where a thin layer of chromium is deposited onto a metal surface. In the context of diecast, this typically involves a multi-step process that includes cleaning, applying a base coat (often copper and nickel), and then electroplating the chromium. The chromium layer provides both aesthetic appeal and functional benefits, such as corrosion resistance and increased surface hardness. The process is usually applied to diecast items, such as model cars, toys, and automotive parts, to give a shiny, mirror-like finish. This finish not only looks attractive but also protects the underlying metal from environmental damage.
Benefits of Chrome Plating Diecast
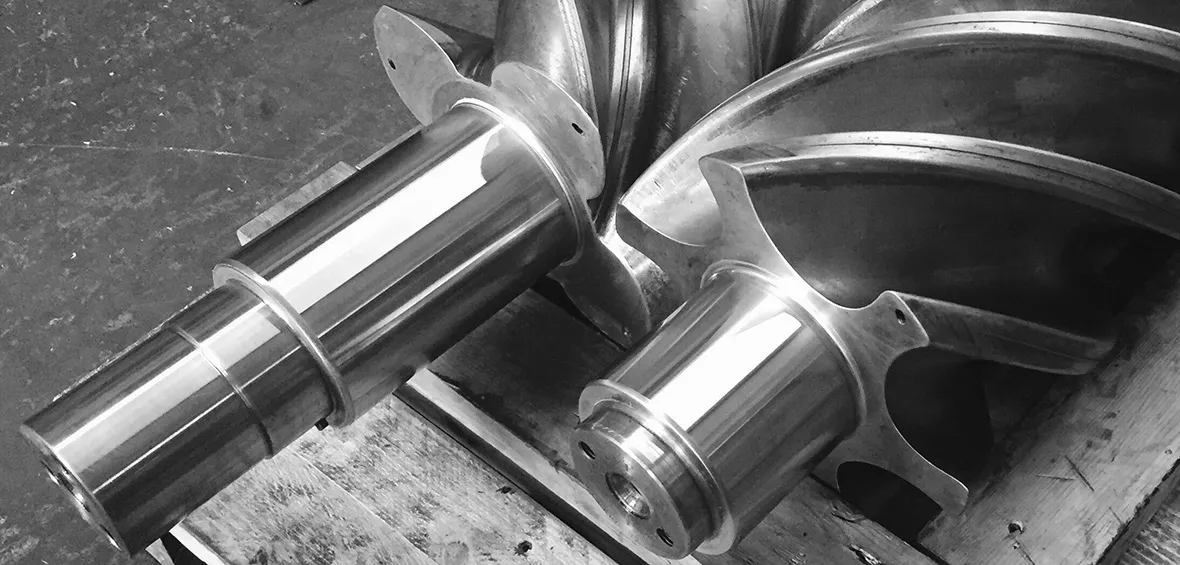
Chrome plating offers several advantages for diecast objects. Primarily, it provides a brilliant, eye-catching finish that enhances the aesthetic value of the item. This is especially important for collectible items or models where appearance is a key factor. Beyond aesthetics, chrome plating significantly increases the corrosion resistance of the diecast material, protecting it from rust and other forms of deterioration caused by exposure to moisture and air. The chromium layer also increases the surface hardness of the diecast part, making it more resistant to scratches and wear. This extends the lifespan of the object and maintains its appearance over time. Furthermore, chrome plating can improve the overall durability, making the diecast item more robust and capable of withstanding handling and use.
Materials Needed for Chrome Plating
To successfully chrome plate diecast items, you’ll need a variety of materials and chemicals. Essential items include a good quality degreaser to clean the metal surface thoroughly. You’ll also require various grades of sandpaper for surface preparation, starting with coarser grits and working your way up to finer grits for smoothing. A plating solution is needed; this often includes copper, nickel, and chromium solutions. You’ll need a base coat primer to prepare the surface, electroplating tanks, power supply, and the required anodes for the plating process. Finally, a protective coating, such as a clear sealant, helps preserve the chrome finish and protect it from environmental damage.
Essential Tools and Equipment
The right tools and equipment are crucial for a successful chrome plating project. You’ll need electroplating tanks of varying sizes to accommodate the different stages of the process, along with a reliable power supply to deliver the required current. Essential hand tools include a selection of sanding blocks and files for surface preparation, as well as polishing tools. A digital multimeter is helpful for checking voltage and current during plating. Make sure to have proper ventilation equipment such as an exhaust fan to remove hazardous fumes. A well-lit workspace and a sturdy workbench are also essential. Proper tools will ensure that the plating process is done right.
Safety Gear Required
Safety is paramount when working with chemicals and electrical equipment. Always wear appropriate personal protective equipment (PPE), including chemical-resistant gloves to protect your hands from corrosive solutions. Safety glasses or a face shield are essential to protect your eyes from splashes and fumes. A respirator is highly recommended, especially when working in a poorly ventilated area or when handling concentrated chemicals. Wear a lab coat or protective apron to prevent chemical spills from reaching your clothing and skin. Make sure to work in a well-ventilated area, and always follow the manufacturer’s instructions for handling the chemicals.
Preparing the Diecast Surface
Proper surface preparation is the most critical step in achieving a high-quality chrome plating finish. This involves several stages, including cleaning, removing old paint and rust, and smoothing the surface to ensure a flawless base for the chrome layer. Careful attention to detail during this phase will determine the final appearance and durability of the plated finish. Rushing or skipping steps can lead to imperfections such as bubbles, peeling, or an uneven appearance. This step needs patience and a meticulous approach.
Cleaning and Degreasing
Begin by thoroughly cleaning the diecast surface to remove any dirt, grease, or contaminants. Use a commercial degreaser specifically designed for metal surfaces and follow the manufacturer’s instructions. Apply the degreaser and scrub the surface with a brush, ensuring all areas are cleaned. Rinse the diecast object thoroughly with water to remove all traces of the degreaser. For stubborn grease or grime, you can repeat the cleaning process. Proper cleaning prevents contaminants from interfering with the plating process and ensures better adhesion of the chrome layer.
Removing Old Paint and Rust
If the diecast object has old paint or rust, it must be removed before plating. Use paint strippers or chemical solutions to soften and remove old paint. After applying the stripper, use a plastic scraper or a wire brush to remove the softened paint. For rust removal, use a wire brush or sandpaper. If the rust is severe, you may need to use a rust remover solution. Once the paint and rust are removed, rinse the object thoroughly to remove any residue. Be careful not to damage the underlying diecast material during this process.
Smoothing the Surface
Once the surface is clean and free of paint and rust, the next step is to smooth out any imperfections. Start with a coarser grit sandpaper to remove any imperfections. Work your way up to finer grits (e.g., 400, 600, 800 grit) to achieve a smooth, even surface. Sand in a consistent pattern, checking frequently for any scratches or imperfections. The goal is to create a perfectly smooth surface for the chrome plating. A smooth surface ensures the chrome layer adheres properly and results in a mirror-like finish. Using sanding blocks can help maintain even pressure and achieve a uniform finish.
The Chrome Plating Process
The chrome plating process typically involves several steps, including applying a base coat, electroplating the chrome, and rinsing and drying the plated object. Each step is crucial for achieving a durable and aesthetically pleasing finish. Using a high-quality base coat helps the chrome adhere better and reduces the likelihood of peeling or flaking. The electroplating process requires careful control of the current and plating time. The rinsing and drying steps are essential to remove any remaining chemicals and ensure a smooth finish.
Applying the Base Coat
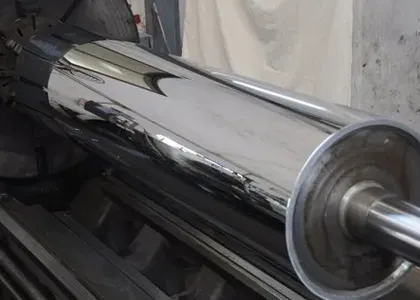
Before applying the chrome layer, a base coat is typically applied. This often consists of copper and nickel layers, which serve as a foundation for the chrome and improve its adhesion. The base coat helps to fill in any minor imperfections on the surface and provides a smoother surface for the chrome. The object is immersed in a copper plating solution, and then nickel plating solution, to deposit these layers. Proper base coating is essential for a durable and attractive chrome finish. Follow the manufacturer’s instructions for each plating solution, including the correct current and plating time.
Electroplating the Chrome
The final step in the plating process is the electroplating of the chromium layer. The diecast object, with its base coat, is immersed in a chrome plating solution, and an electrical current is applied. The current causes chromium ions to be deposited onto the surface of the object, forming a thin, bright layer of chrome. The plating time and current must be carefully controlled to achieve the desired thickness and finish. After plating, remove the object and rinse it thoroughly with water. Electroplating requires experience. However, with careful attention to detail, you can achieve professional results.
Rinsing and Drying
After the chrome plating is complete, thorough rinsing and drying are essential. Rinse the plated object in clean water to remove any remaining plating solution residue. Then, rinse the object in distilled water to avoid water spots. Allow the object to air dry completely, or gently dry it with a soft, clean cloth. Ensure that the object is completely dry before proceeding to the finishing steps. Proper rinsing and drying help to prevent corrosion, and ensure that the chrome finish is smooth and even.
Post-Plating Finishing
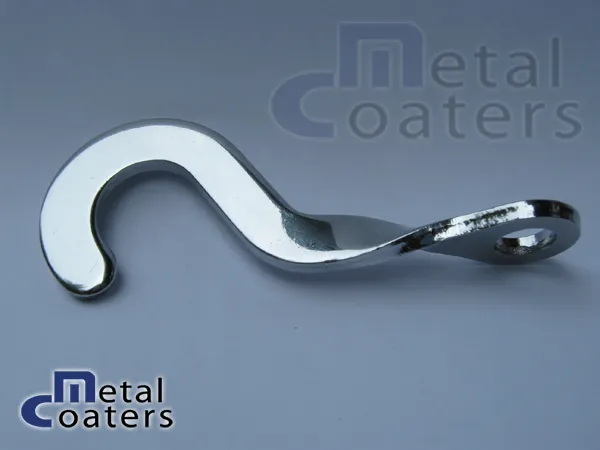
After the chrome plating process, there are a few finishing steps that can enhance the appearance and protect the plated surface. Polishing and buffing help to remove any imperfections and enhance the shine. Applying a protective coating provides additional protection against environmental factors and helps to maintain the finish over time. These steps are vital for achieving a professional look and ensuring the longevity of the chrome plating.
Polishing and Buffing
Polishing and buffing are essential for achieving a mirror-like finish. Use a polishing compound specifically designed for chrome and apply it with a soft cloth or buffing wheel. Buff the surface in a circular motion, applying gentle pressure until the desired level of shine is achieved. Remove any excess compound with a clean cloth. Polishing enhances the brilliance of the chrome and removes any minor imperfections that may have occurred during the plating process. For a more professional finish, you can use a buffing wheel and different grades of polishing compounds.
Applying a Protective Coating
To protect the chrome finish and prevent corrosion, apply a protective coating. Several options are available, including clear sealants or wax-based coatings specifically designed for chrome. Apply the protective coating according to the manufacturer’s instructions. This coating acts as a barrier against moisture, UV rays, and other environmental factors that can damage the chrome plating. Regularly applying a protective coating can significantly extend the life and shine of your plated diecast items. Reapply the protective coating as needed to maintain the finish and protect the chrome layer.
Troubleshooting Common Issues
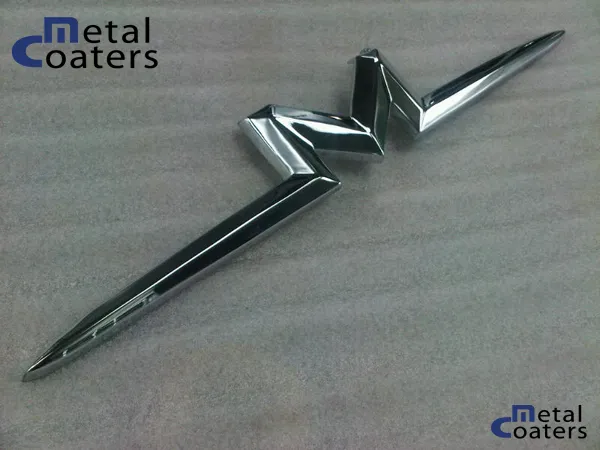
Even with careful preparation and execution, you may encounter issues during the chrome plating process. Common problems include chrome peeling or flaking and uneven plating. Understanding the causes of these problems can help you troubleshoot and correct them. Many issues can be resolved with attention to detail, but some might require redoing parts of the process. Always carefully inspect the plated object after each step. That way you can promptly address any issues and ensure a high-quality finish.
Chrome Peeling or Flaking
Chrome peeling or flaking is a common issue that can ruin the appearance of your plated object. This typically occurs due to poor surface preparation, inadequate base coat adhesion, or improper plating techniques. To prevent this, make sure the surface is thoroughly cleaned and degreased before plating. Ensure that the base coat adheres correctly by following the manufacturer’s instructions. Check the plating solution and power settings to avoid over-plating or under-plating. If you experience peeling or flaking, the plating process may need to be redone, starting with proper surface preparation.
Uneven Plating
Uneven plating can result in a patchy or inconsistent finish. This is often due to insufficient electrical contact, air bubbles, or variations in the plating solution. Ensure that the object is properly connected to the electrical supply during plating. Use a solution agitation system to prevent air bubbles from forming on the surface. Monitor the plating solution and make sure it is mixed and maintained at the correct temperature and concentration. Inspect the object frequently during plating to identify any areas with uneven coverage. Correct these issues immediately to achieve a uniform and attractive chrome finish.
Conclusion
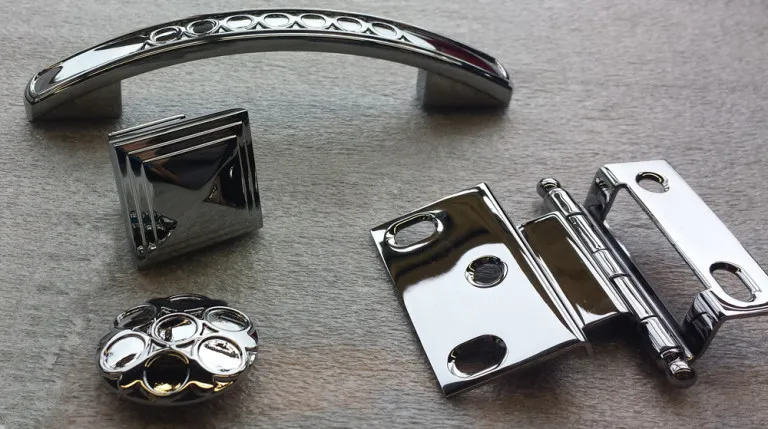
Chrome plating diecast items is a rewarding project that can significantly enhance the appearance and durability of your models and parts. By following the steps outlined in this guide, you can achieve professional-looking results. Remember to prioritize surface preparation, use the correct tools and materials, and always follow safety precautions. With patience and attention to detail, you’ll be able to transform your diecast objects into stunning, chrome-plated masterpieces. Chrome plating is a fulfilling hobby that blends technical skill with creativity. Enjoy the process and the satisfaction of a beautifully restored or enhanced diecast object.
